Instructions for Teachers
Viewing Online Course Subscriptions
Enrolment Option 1: Manual Enrolment
Enrolment Option 2: Spreadsheet Upload
Enrolment Option 3: Group Codes
Instructing Students How to Access Their Courses
Viewing Online Course Subscriptions
To view a list of the online courses that you have active subscriptions for, click on the MY COURSES tab at the top of any page.
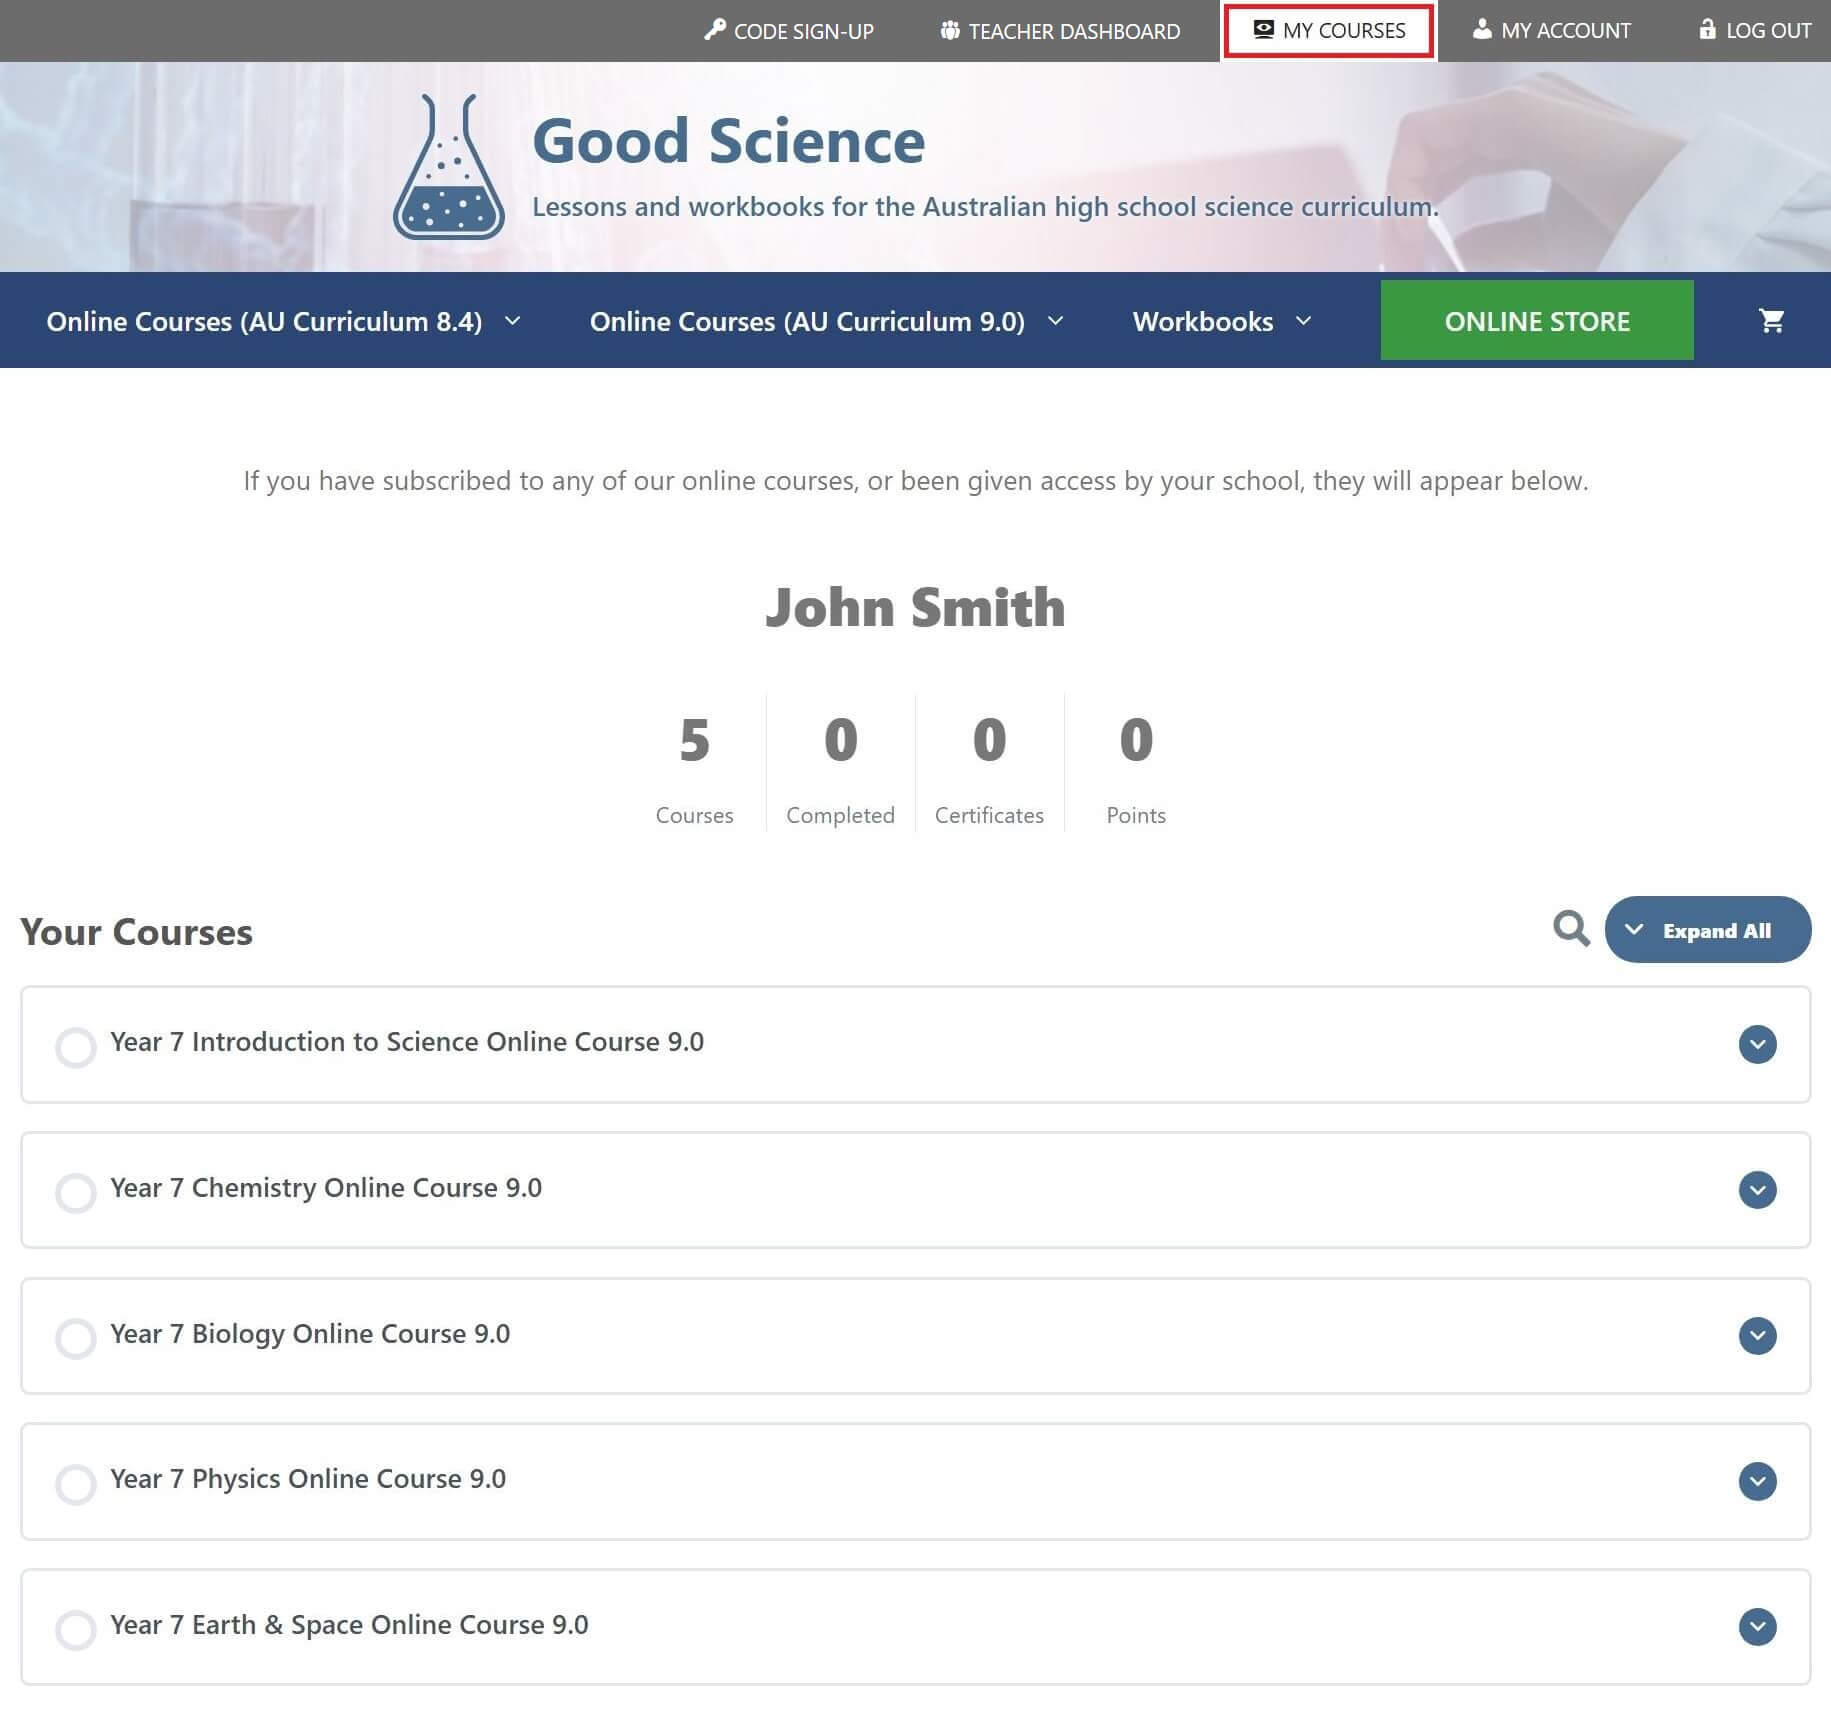
Accessing Online Courses
To access your online courses, click on the course name in the MY COURSES list or navigate via the main menu.
Online courses subscriptions purchased before 10 Nov 2025 are accessible via the 2025 Courses menu.
Online courses subscriptions purchased after 10 Nov 2025 are accessible via the 2026 Courses menu.

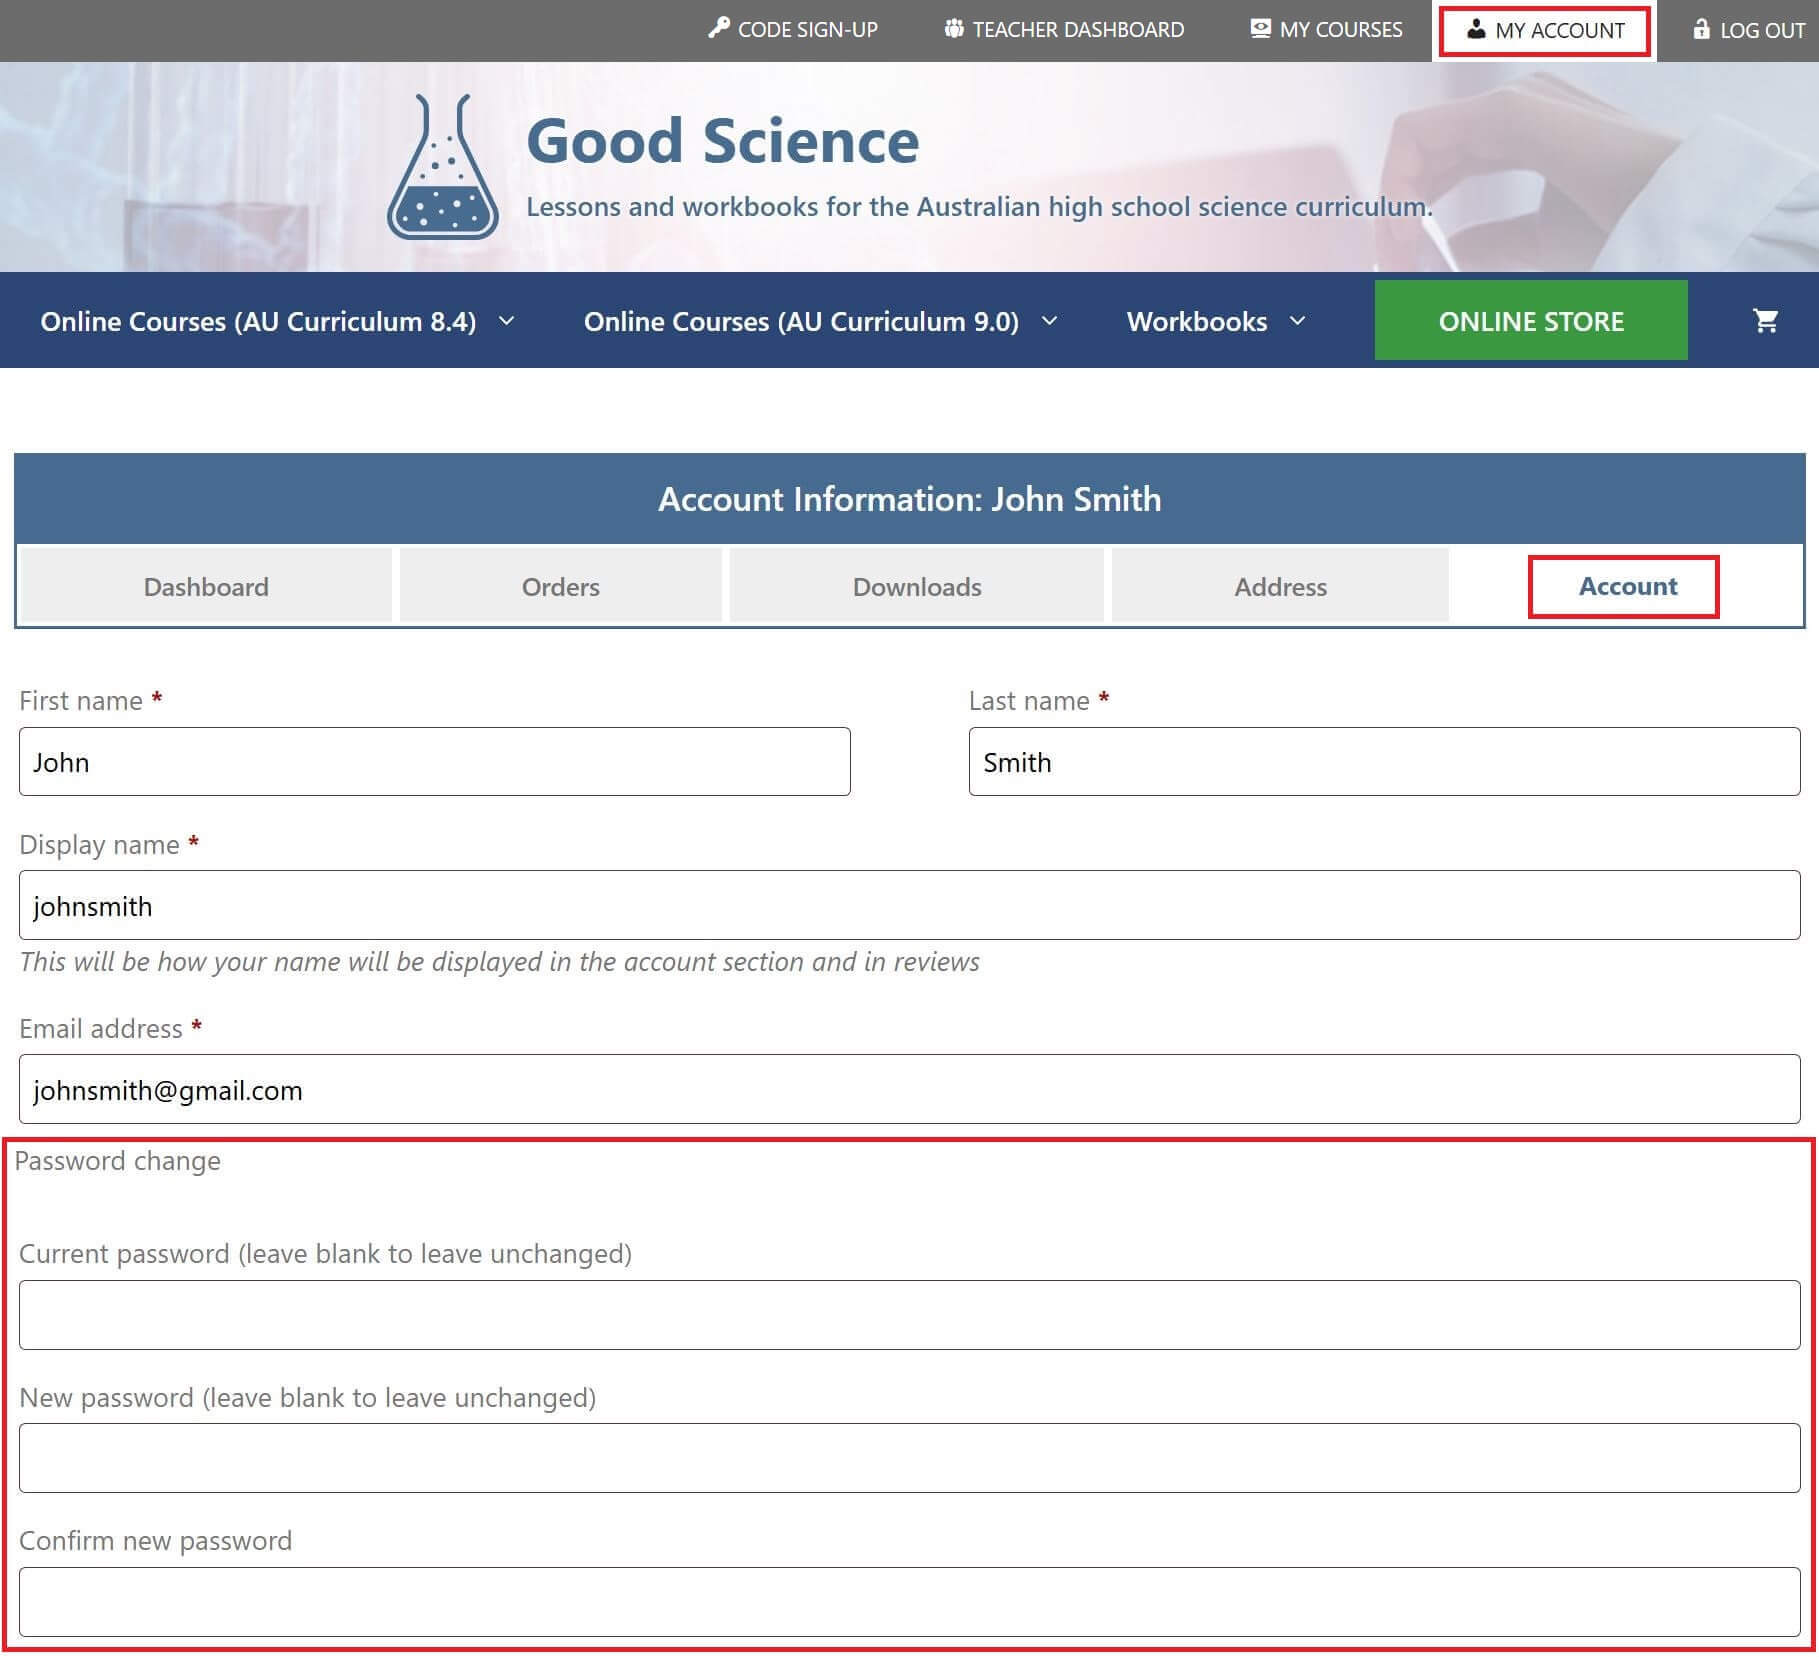
Changing Your Password
You can change your password by clicking on the MY ACCOUNT tab at the top of any page, then clicking on the ACCOUNT tab and scrolling down.
Viewing Class Groups
You can view your class groups by clicking on the TEACHER DASHBOARD tab at the top of any page.
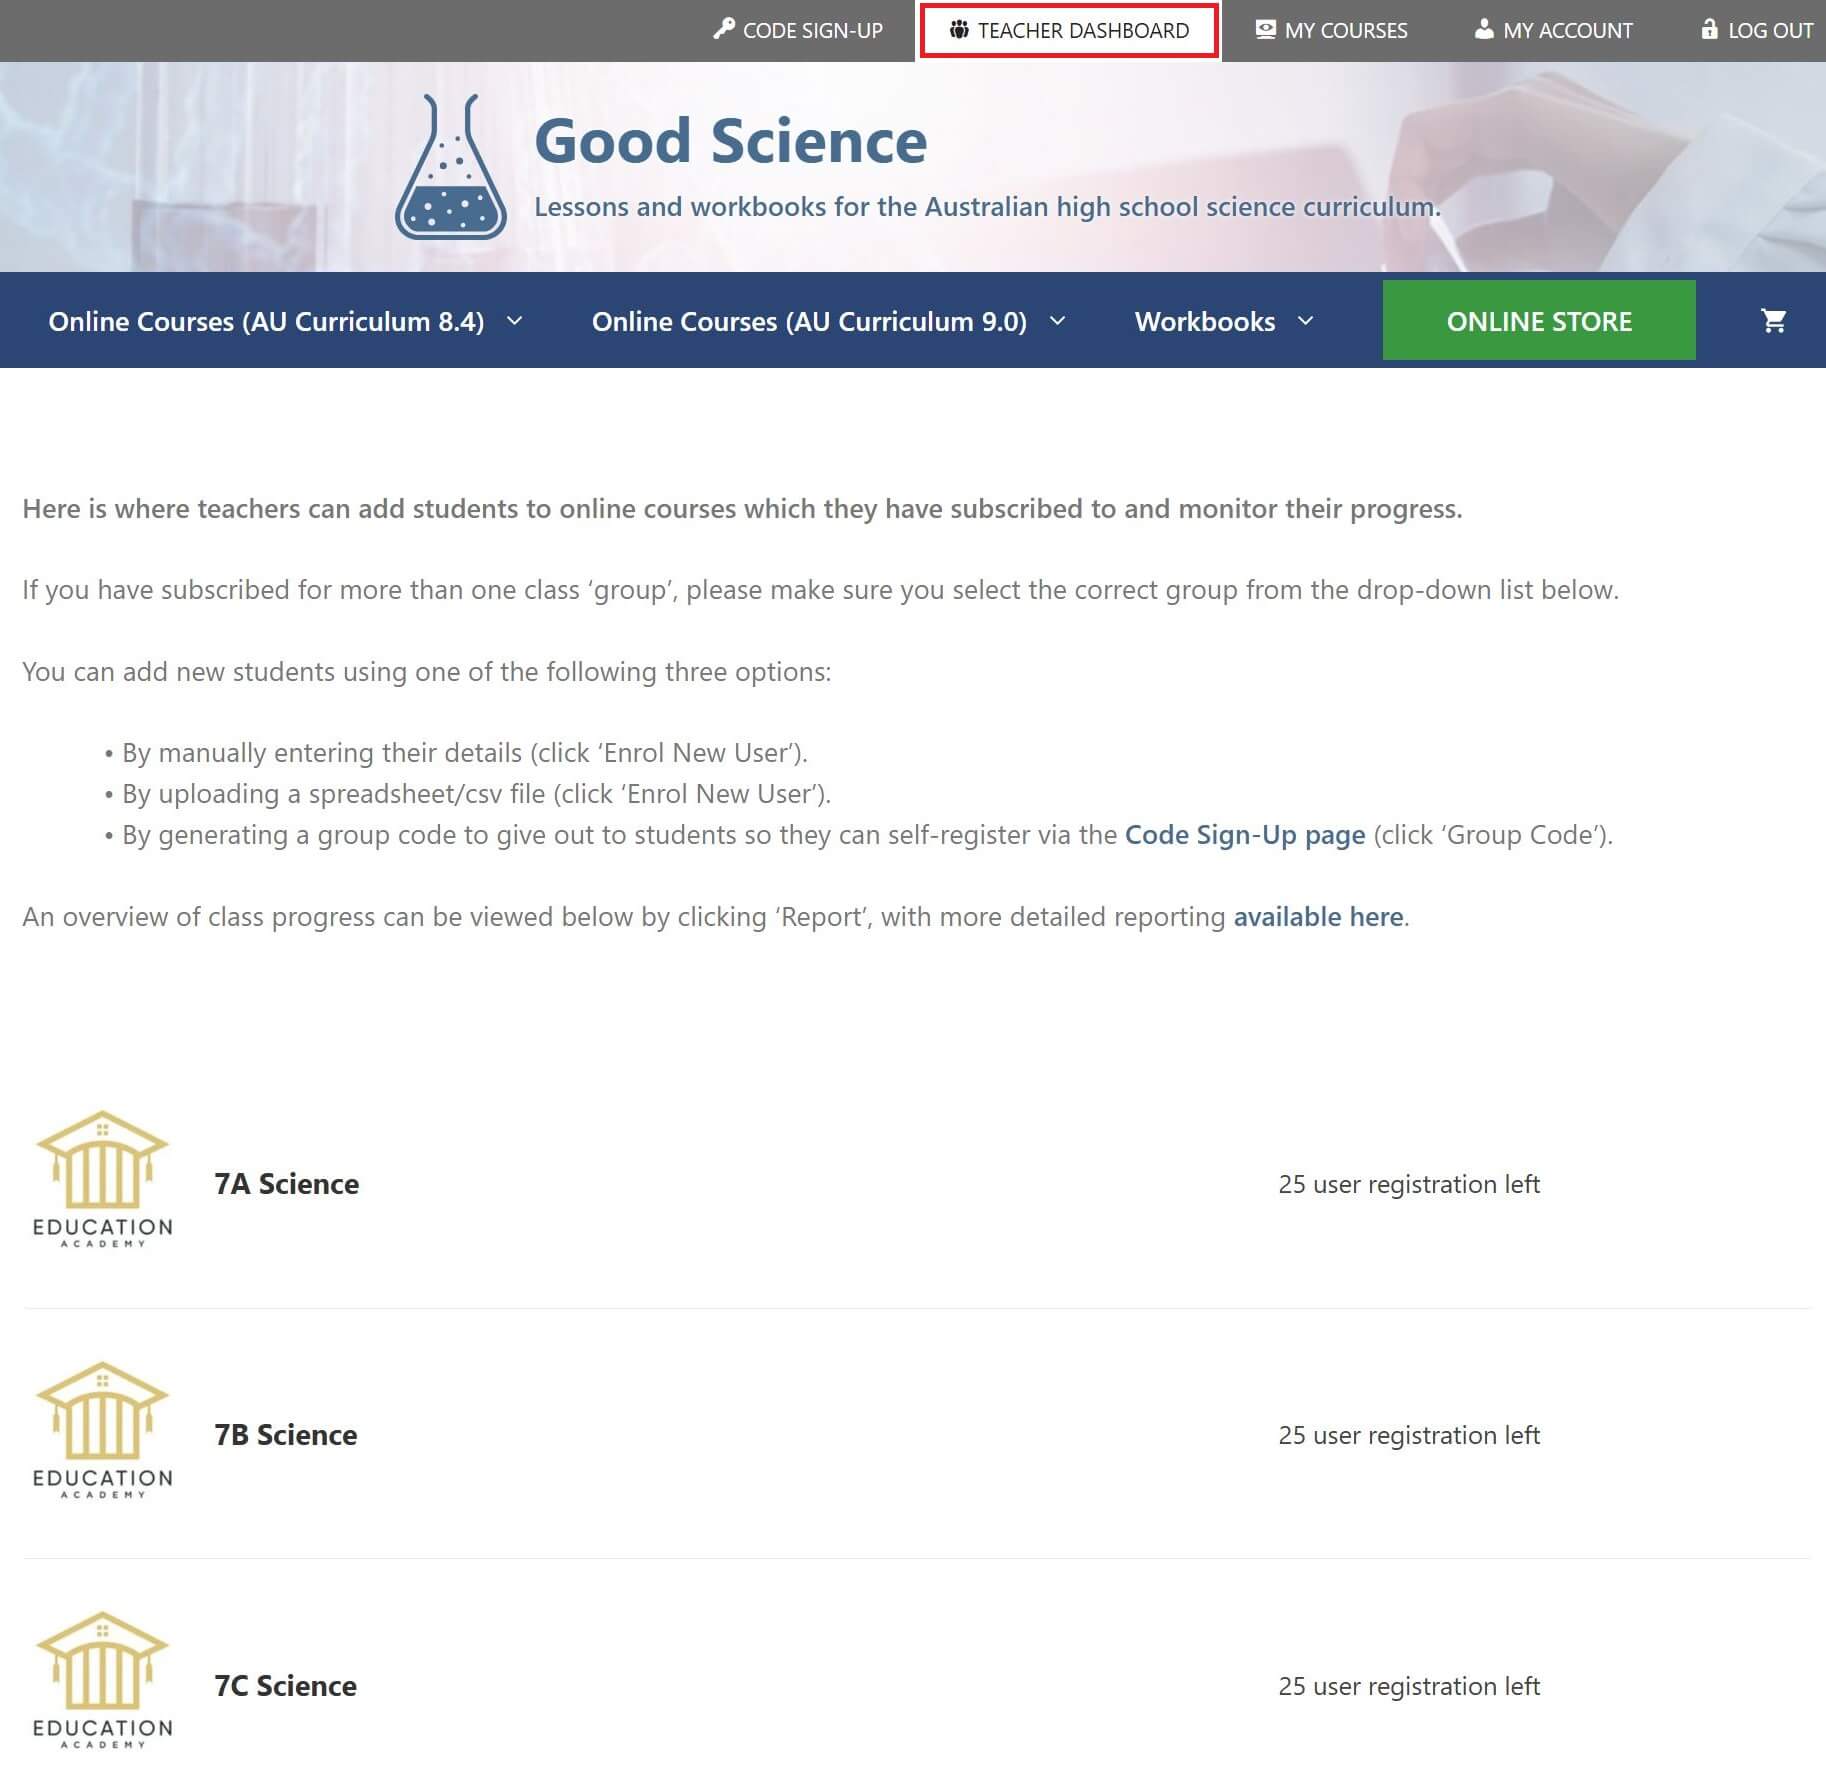
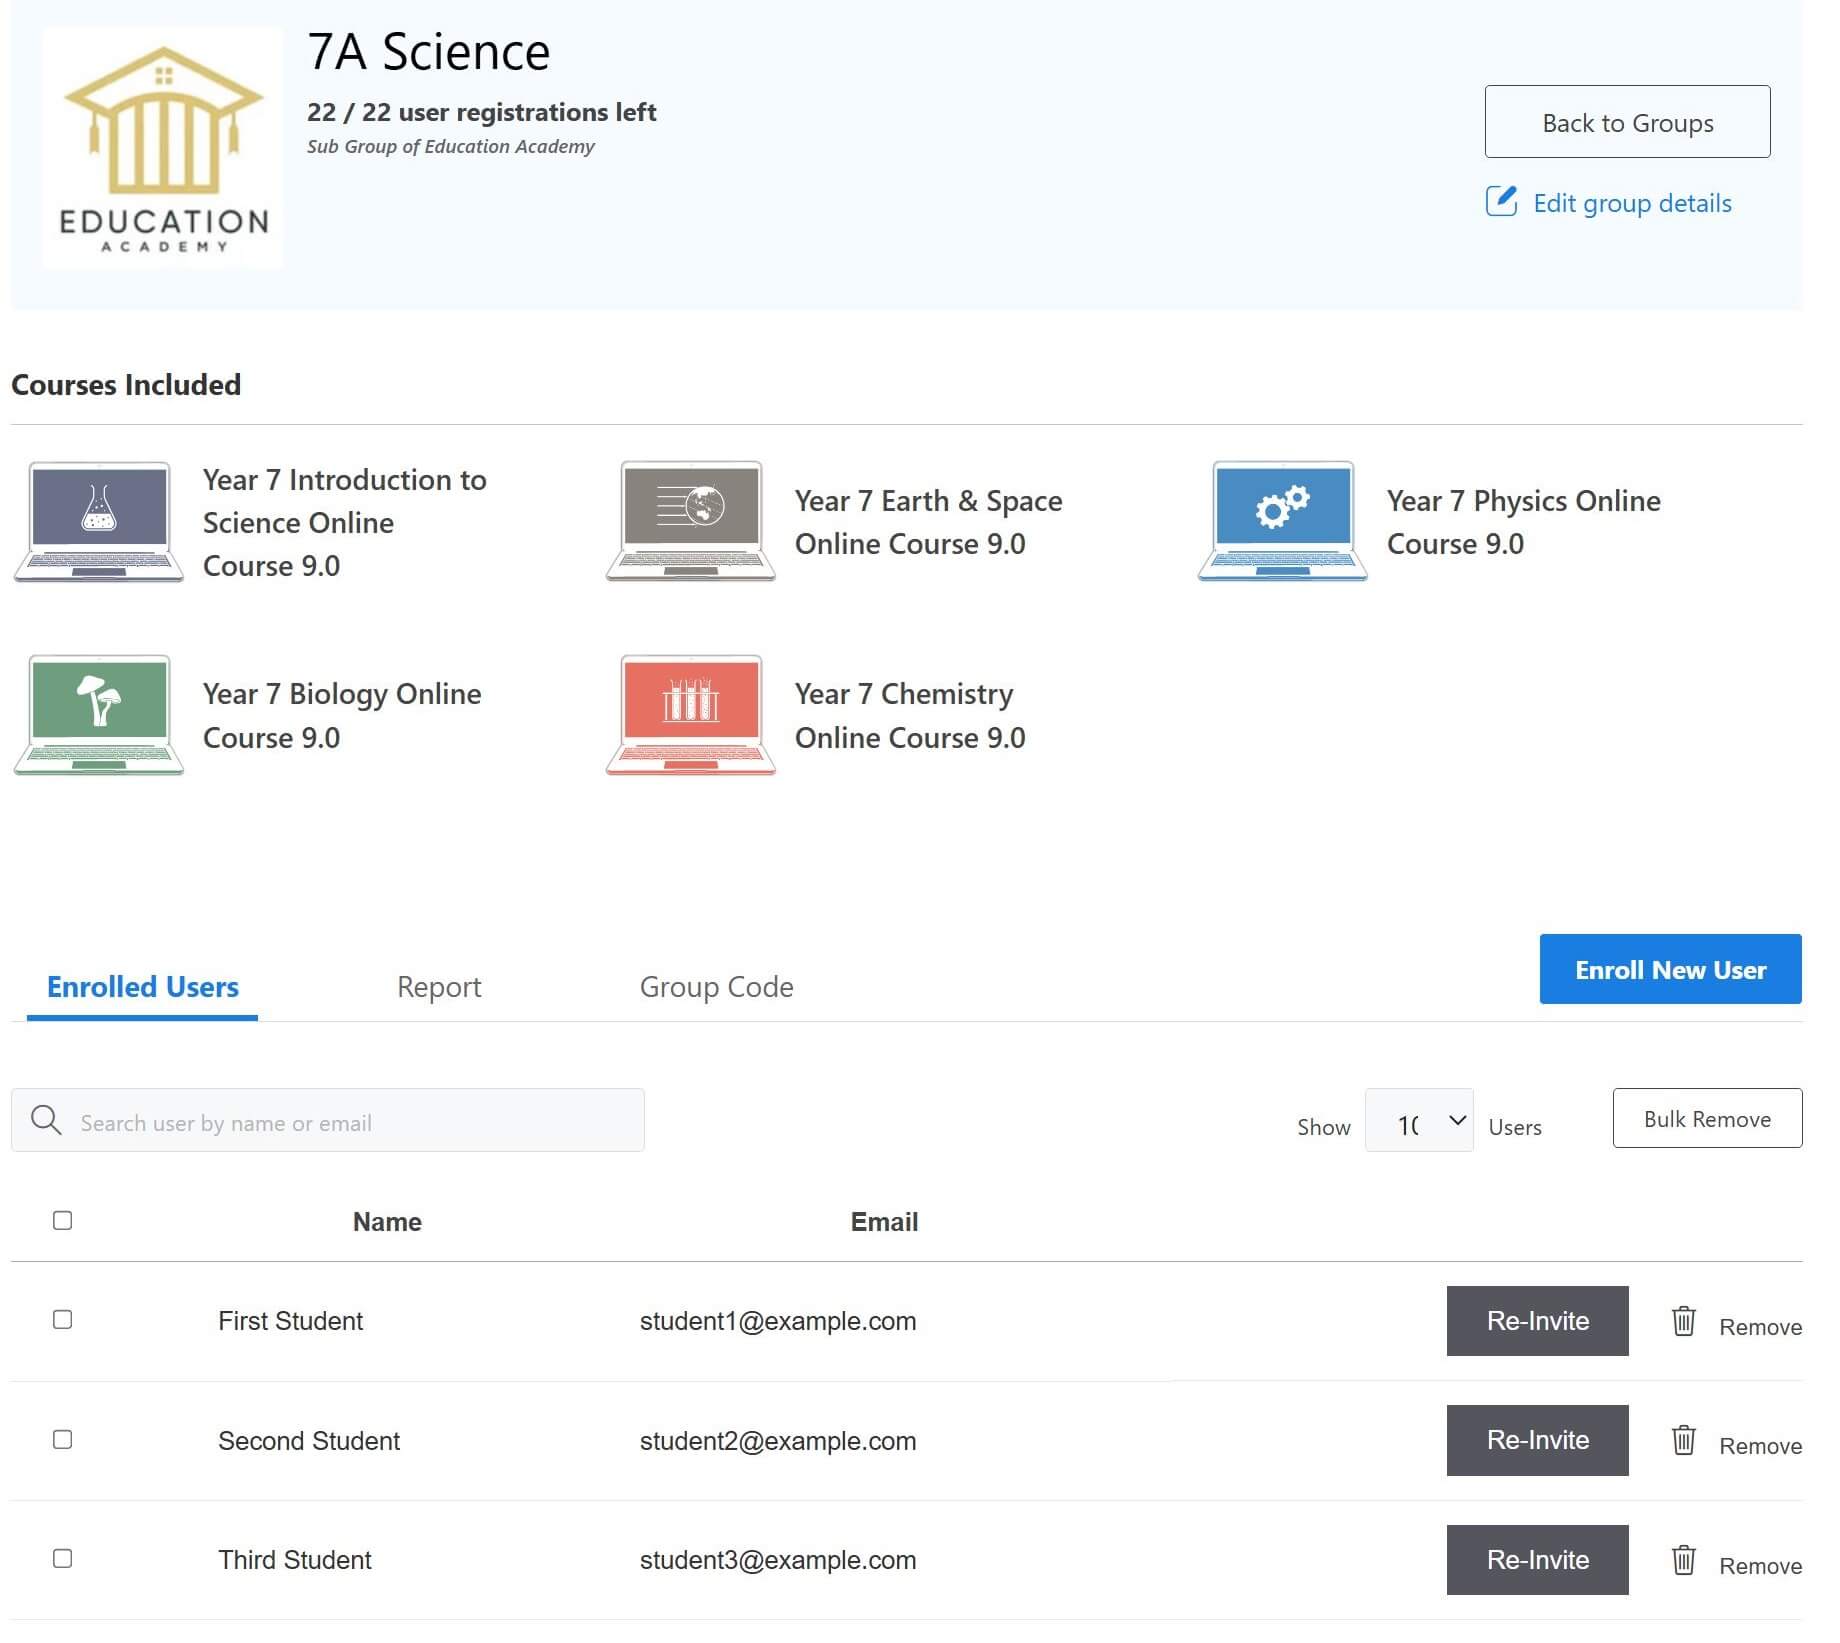
Click on a class group to view the online courses assigned to that group and a list of enrolled students.
Enrolling Students
To enrol students in your class, there are three options:
- Manually entering student details – this is the recommended method for adding individual students.
- Upload a spreadsheet/csv file containing student details – this is the recommended method for adding a group of students.
- Generating a group code to give out to students so they can self-register – an alternative method to 1 and 2, but should be used with caution as anyone with the code can add themselves to your class group.
Enrolment Option 1: Manually Entering Student Details
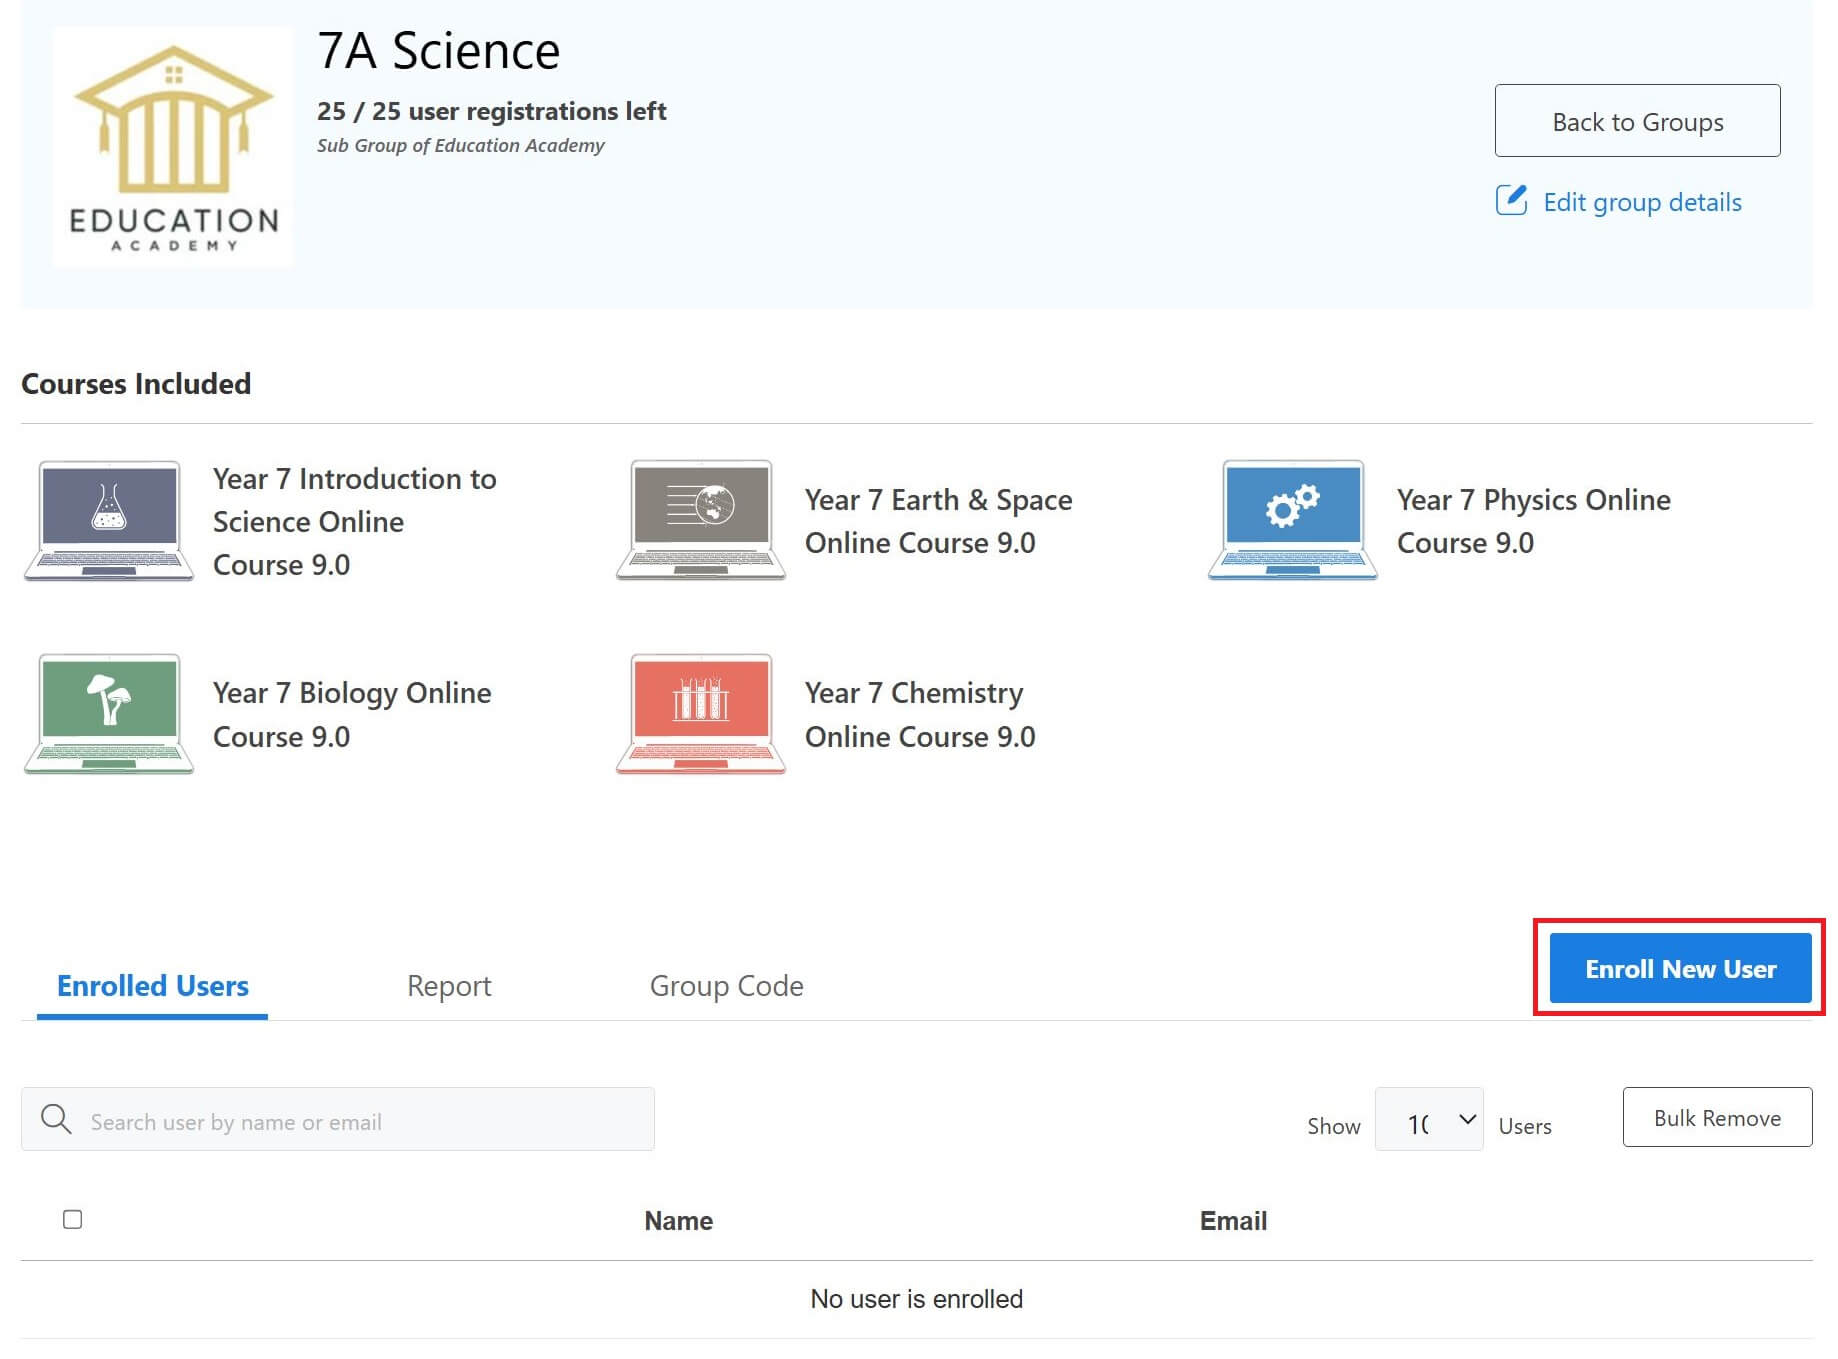
Click on the class group which you want to add students to, then click Enrol New User.
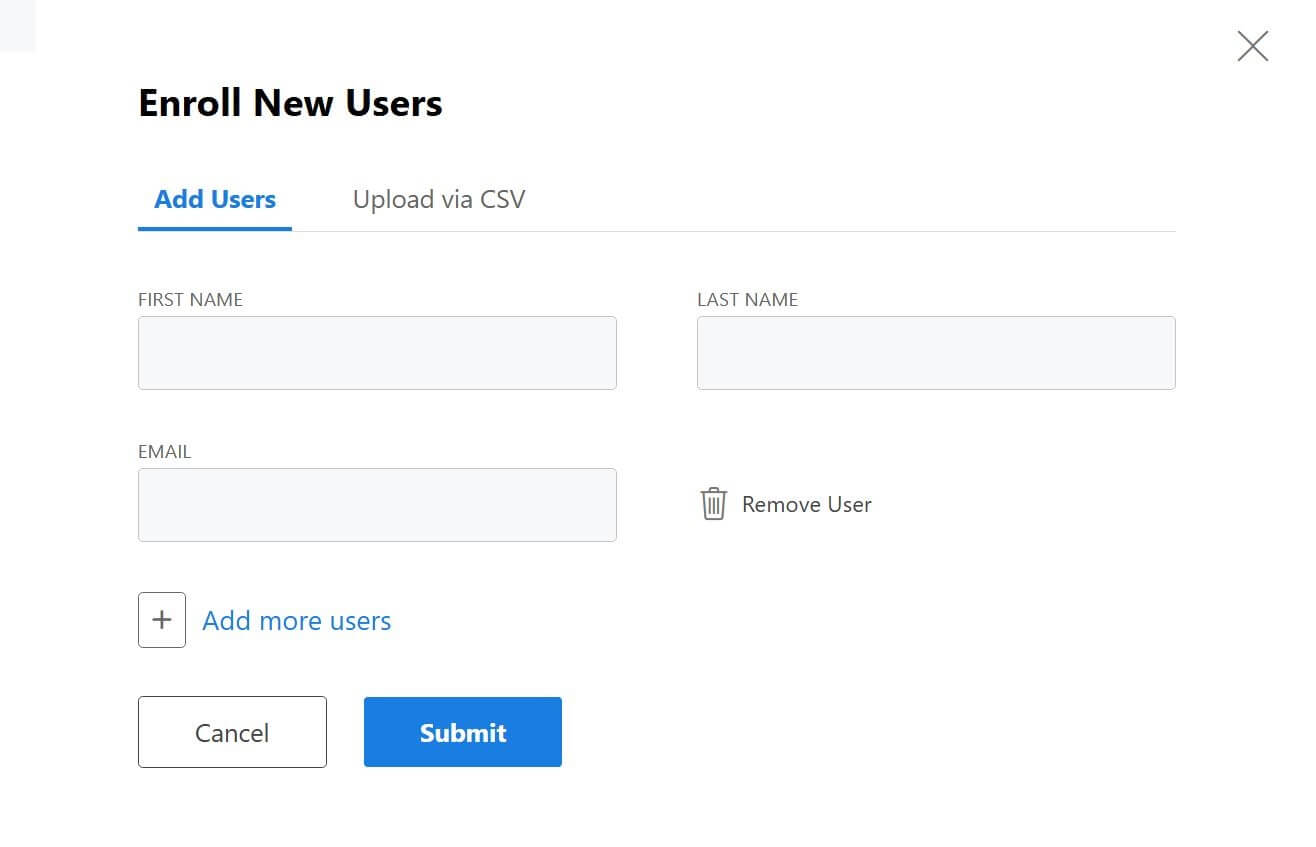
Enter the student’s first name, last name and email address.
Click the + symbol to add any additional students, then click the Submit button.
Students are now registered and enrolled. Their login details have been emailed to them and they are now listed in your class group.
If any students claim to have not received the email, and they have checked their junk folder, you can manually generate another email by clicking the Re-Invite button next to their name in the class list.
Enrolment Option 2: Uploading a Spreadsheet/CSV File Containing Student Details
Click on the class group which you want to add students to, then click Enrol New User.
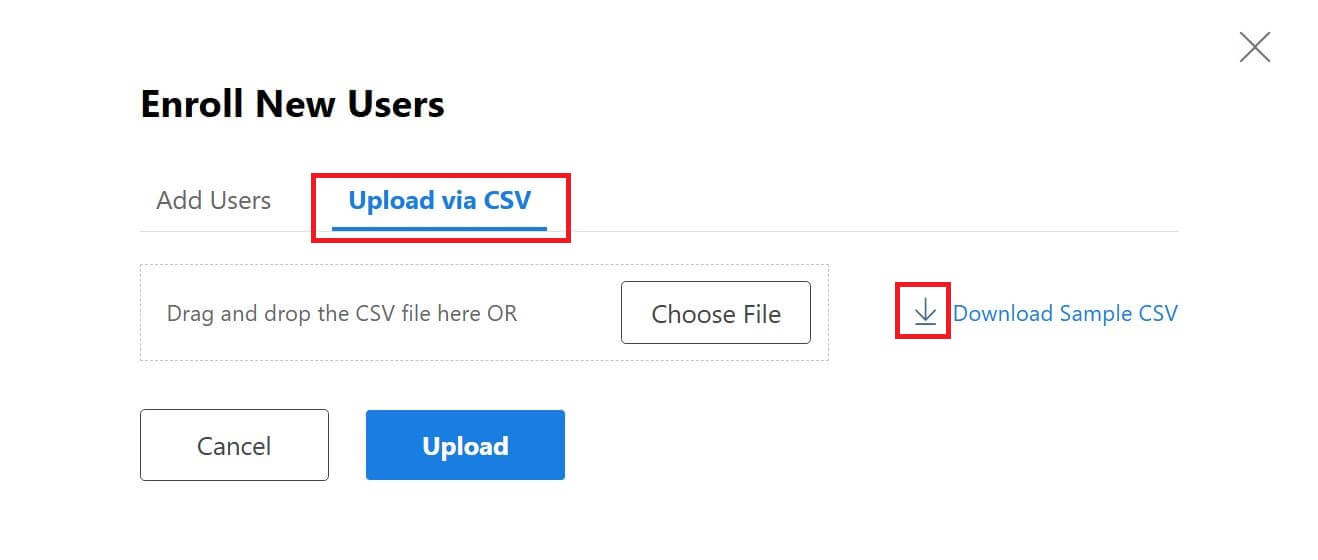
Click on the Upload Via CSV tab, then click the arrow next to Download Sample CSV.
Open the sample CSV file, replace the sample details with your students details (without changing formatting), then save the file.
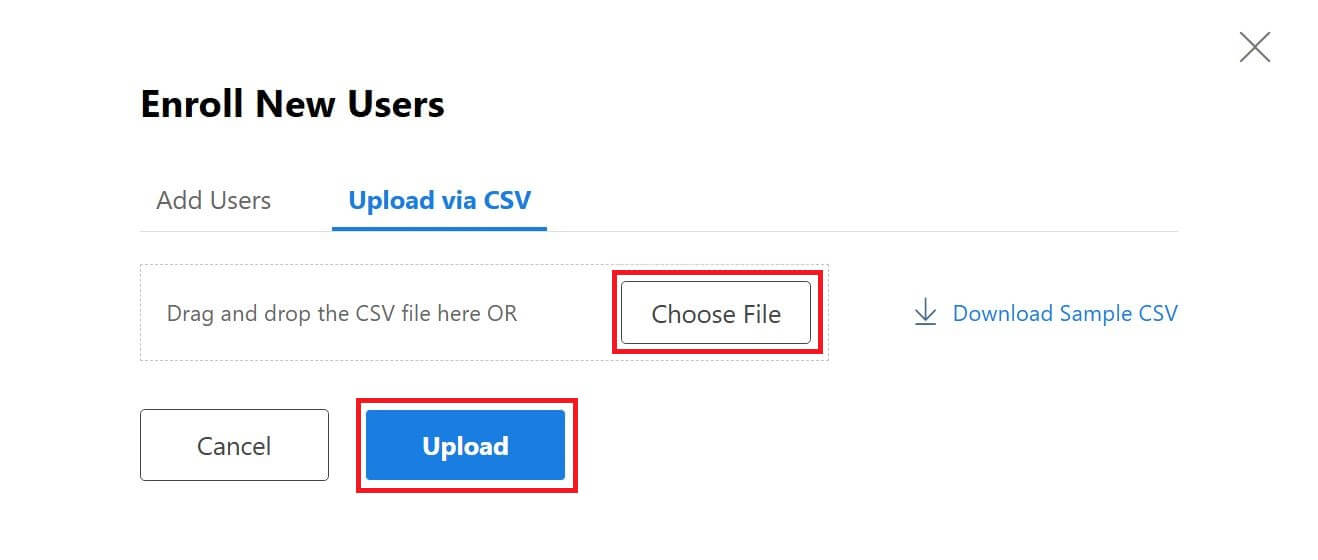
Upload your edited CSV file by clicking Choose File then Upload.
Students are now registered and enrolled. Their login details have been emailed to them and they are now listed in your class group.
If any students claim to have not received the email, and they have checked their junk folder, you can manually generate another email by clicking the Re-Invite button next to their name in the class list.
Enrolment Option 3: Creating a Group Code for Students to Self-Register
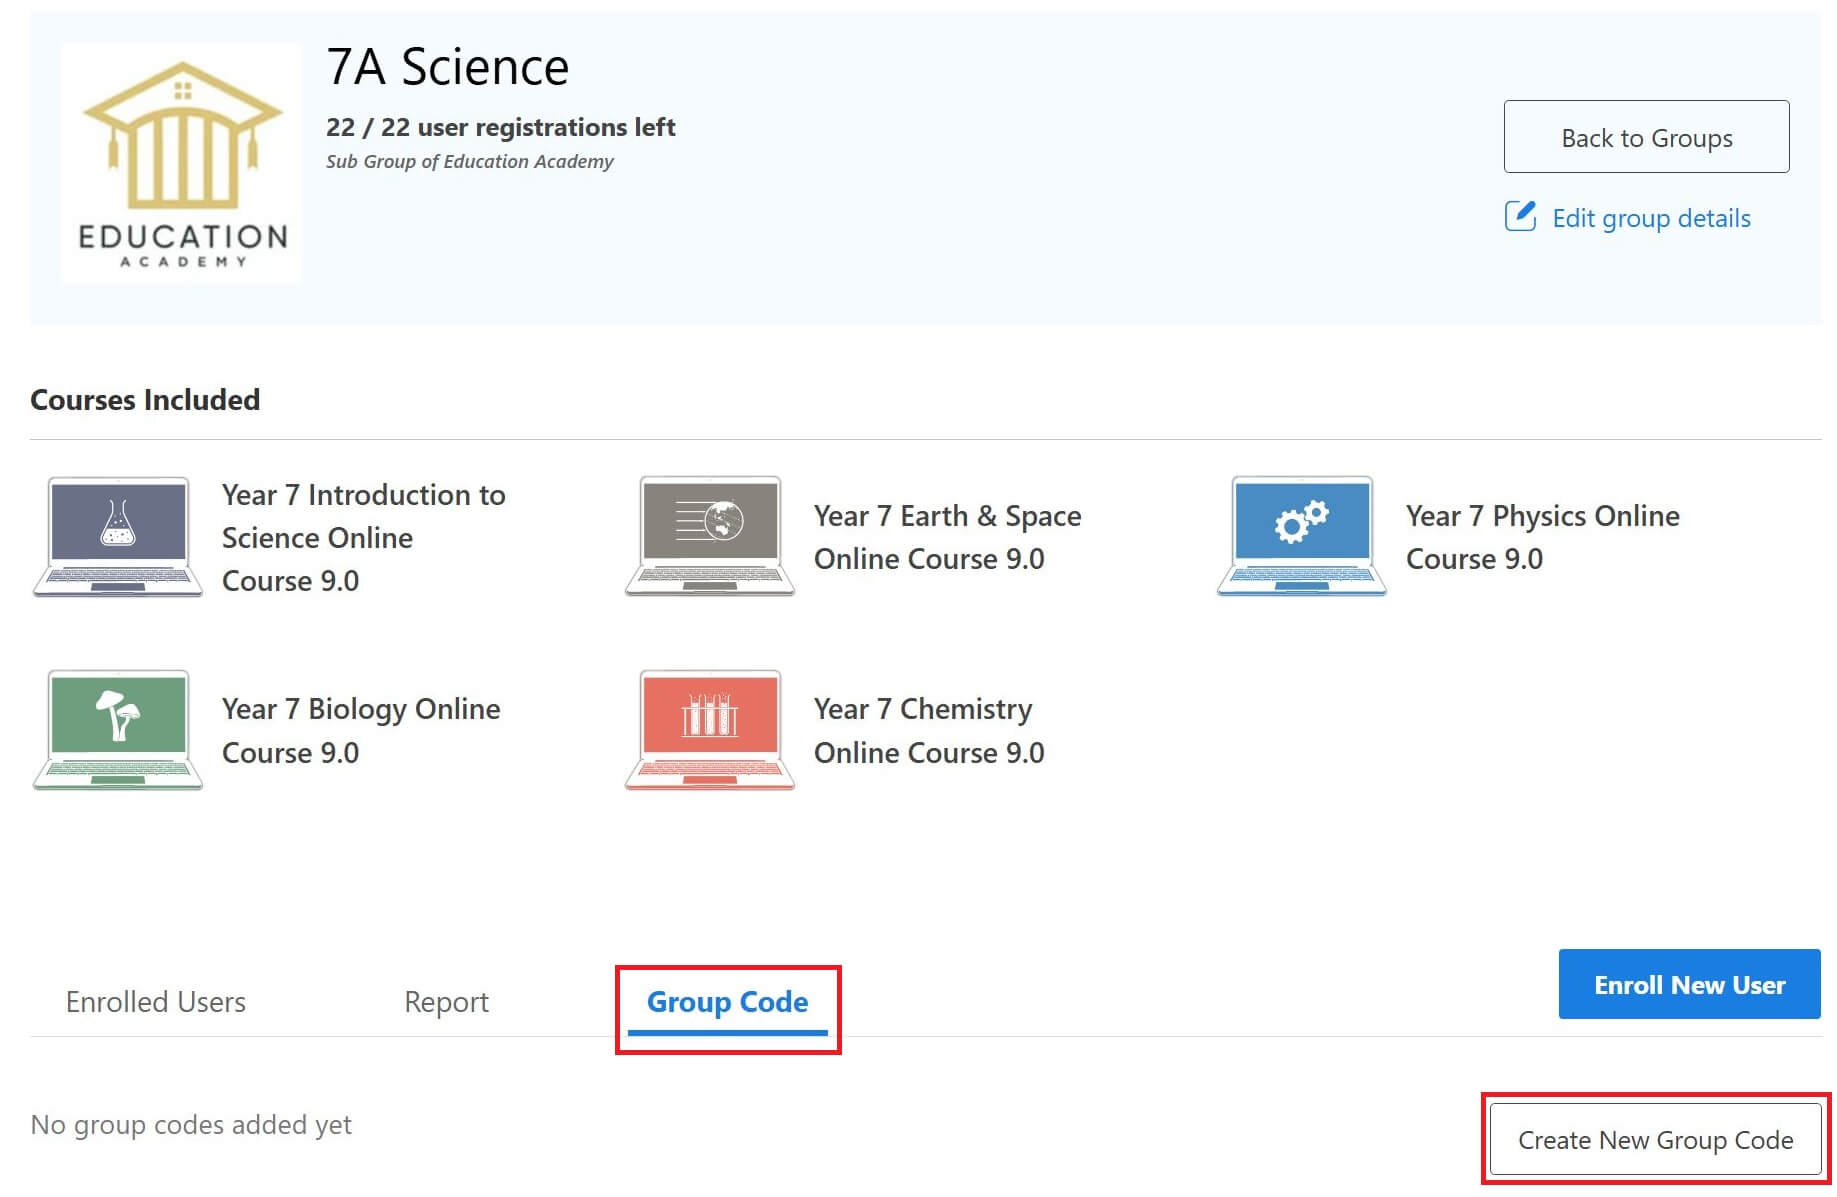
Click on the class group which you want to add students to, then click on the Group Code tab, then click the Create New Group Code tab.
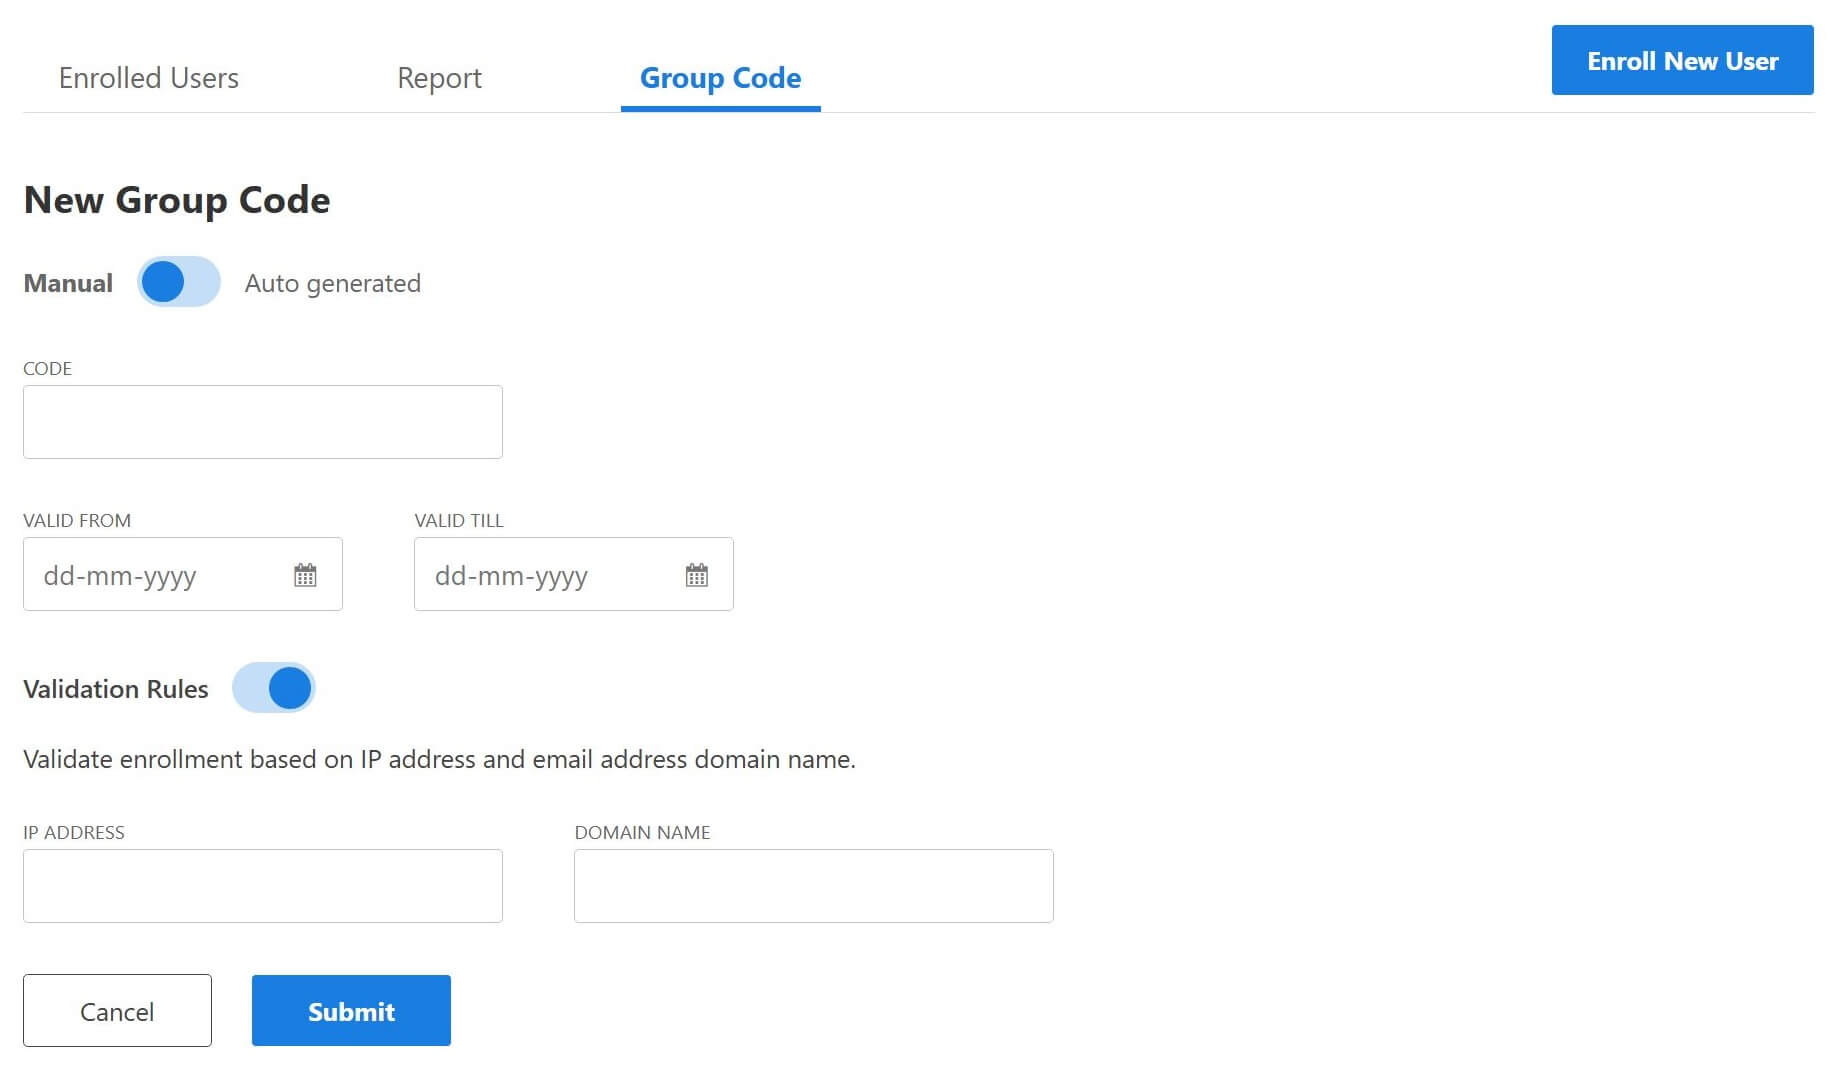
Manually enter a group code or auto-generate a code.
Select a date range for registrations to be allowed (this is a required field).
If you wish to limit self-enrolments to a specific IP address (eg your schools IP address) and/or a specific email domain (eg @yourschool.com), turn on Validation Rules and fill in the fields.
Click the Submit button.
The group code will now be listed under the Group Code tab.
Toggle the Code Status slider to activate/deactivate the group code.
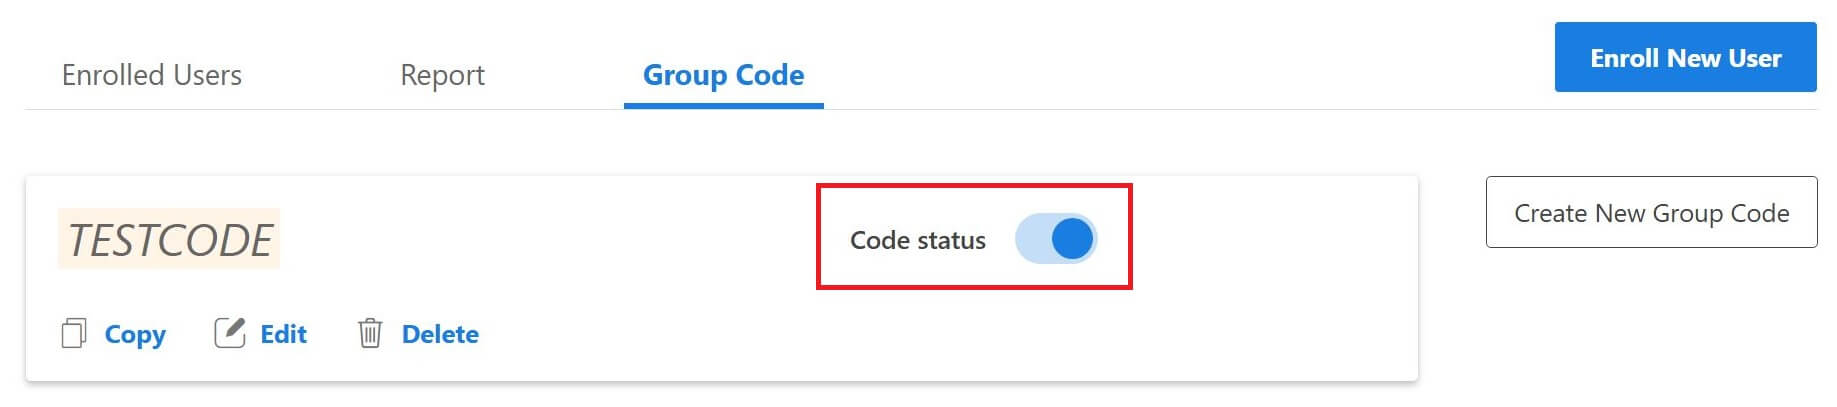
Once the group code is activated, share the code with your class. (Its important that students don’t share the code with others to prevent unwanted subscriptions.)
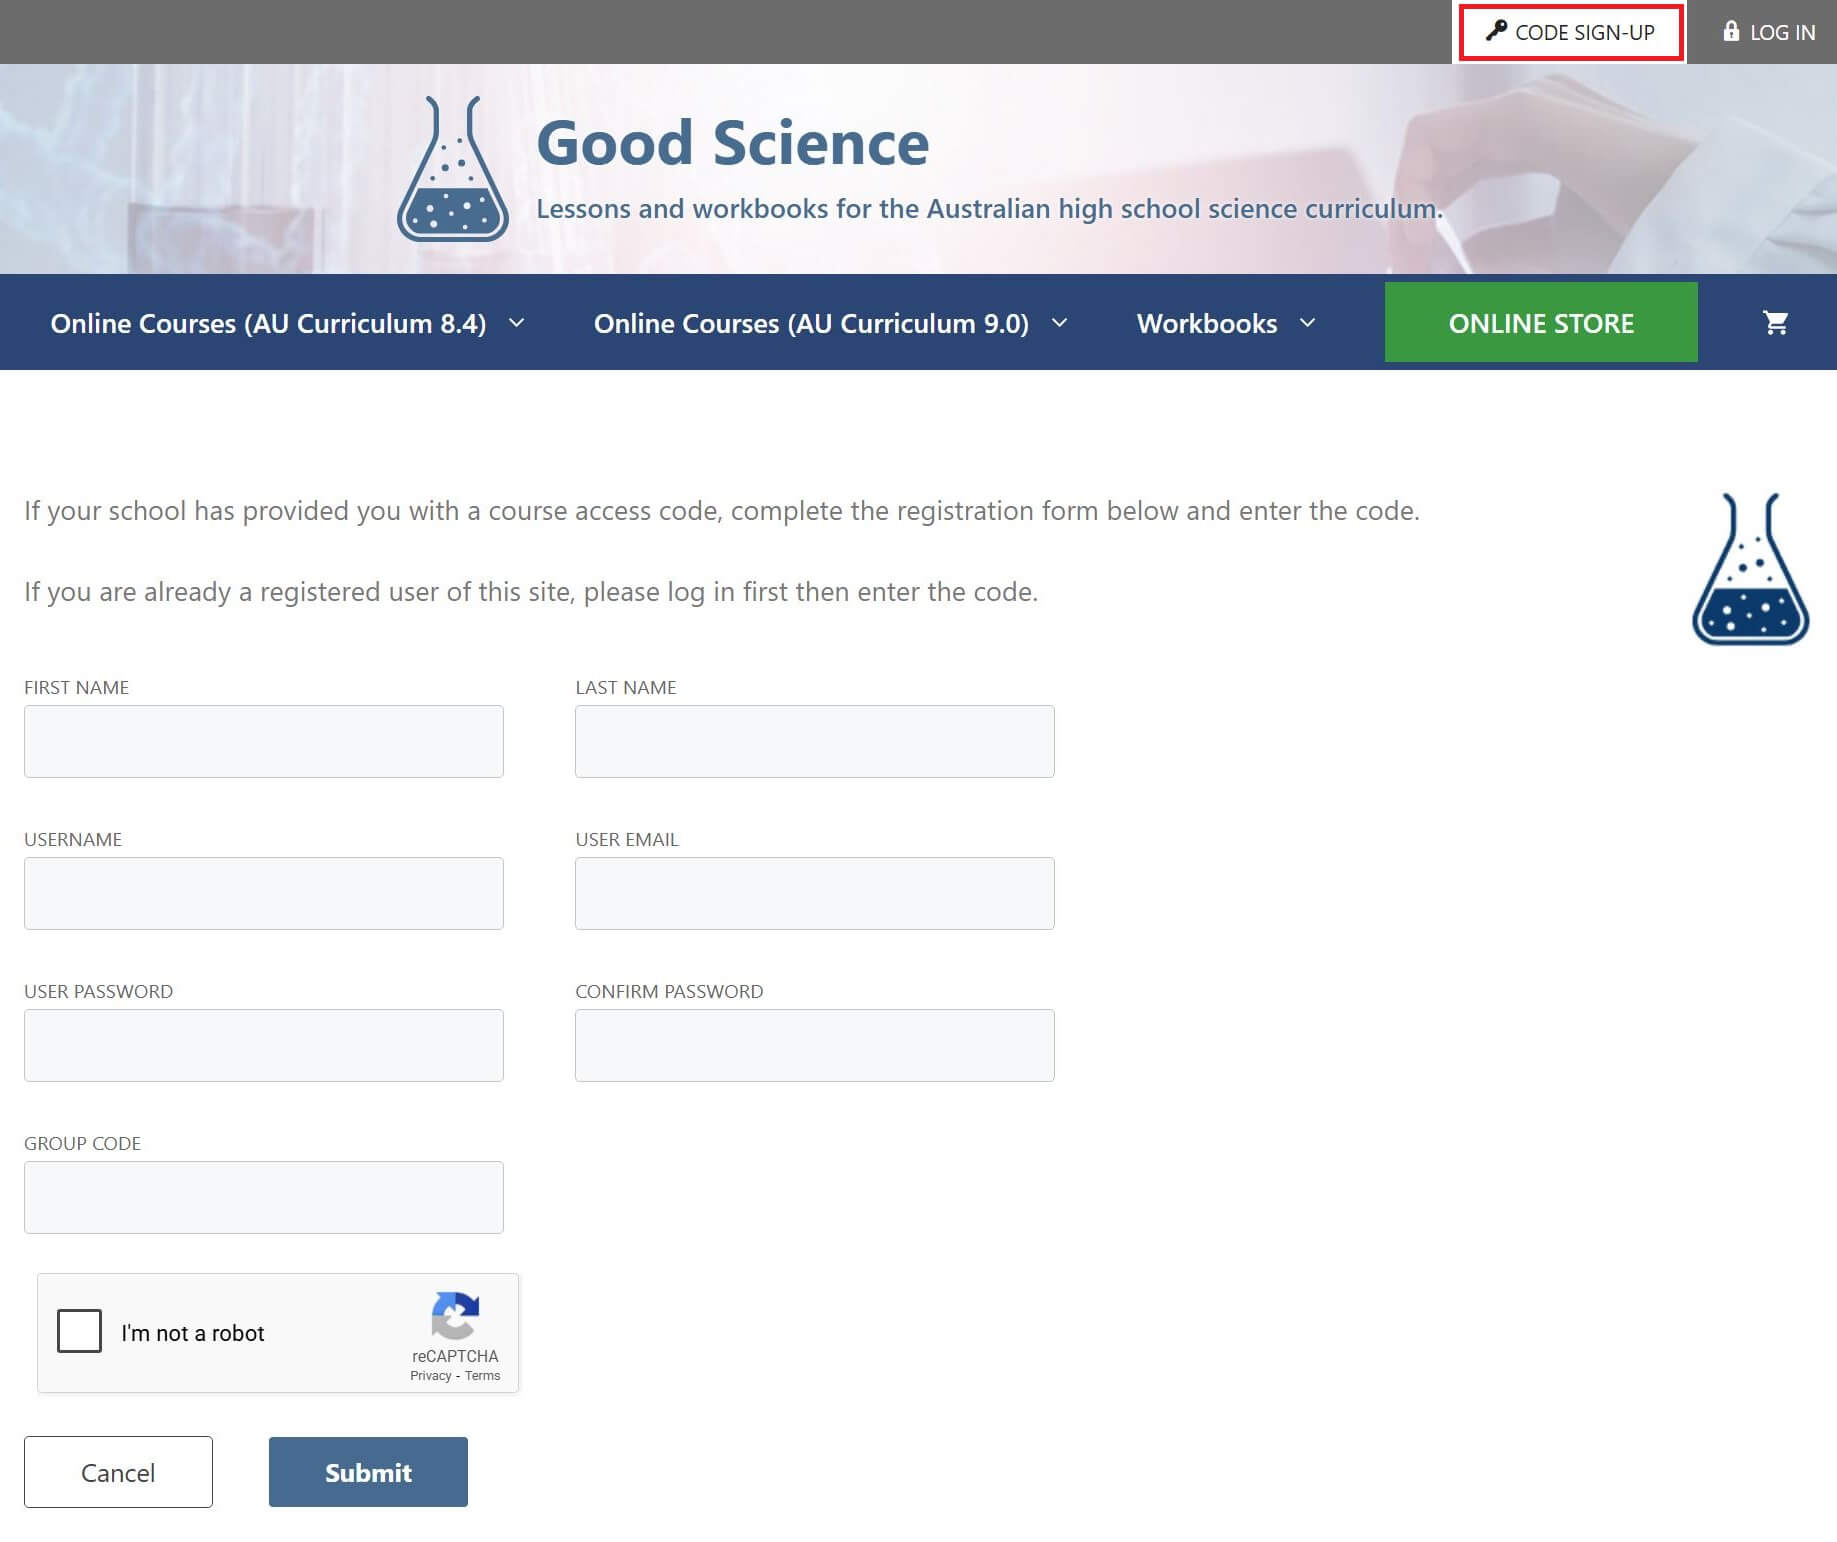
Students then need to enrol themselves by clicking on Code Sign-Up tab at the top of any page.
If students are already registered with the Good Science website, they will need to log in first. Their code sign-up page will look like this:
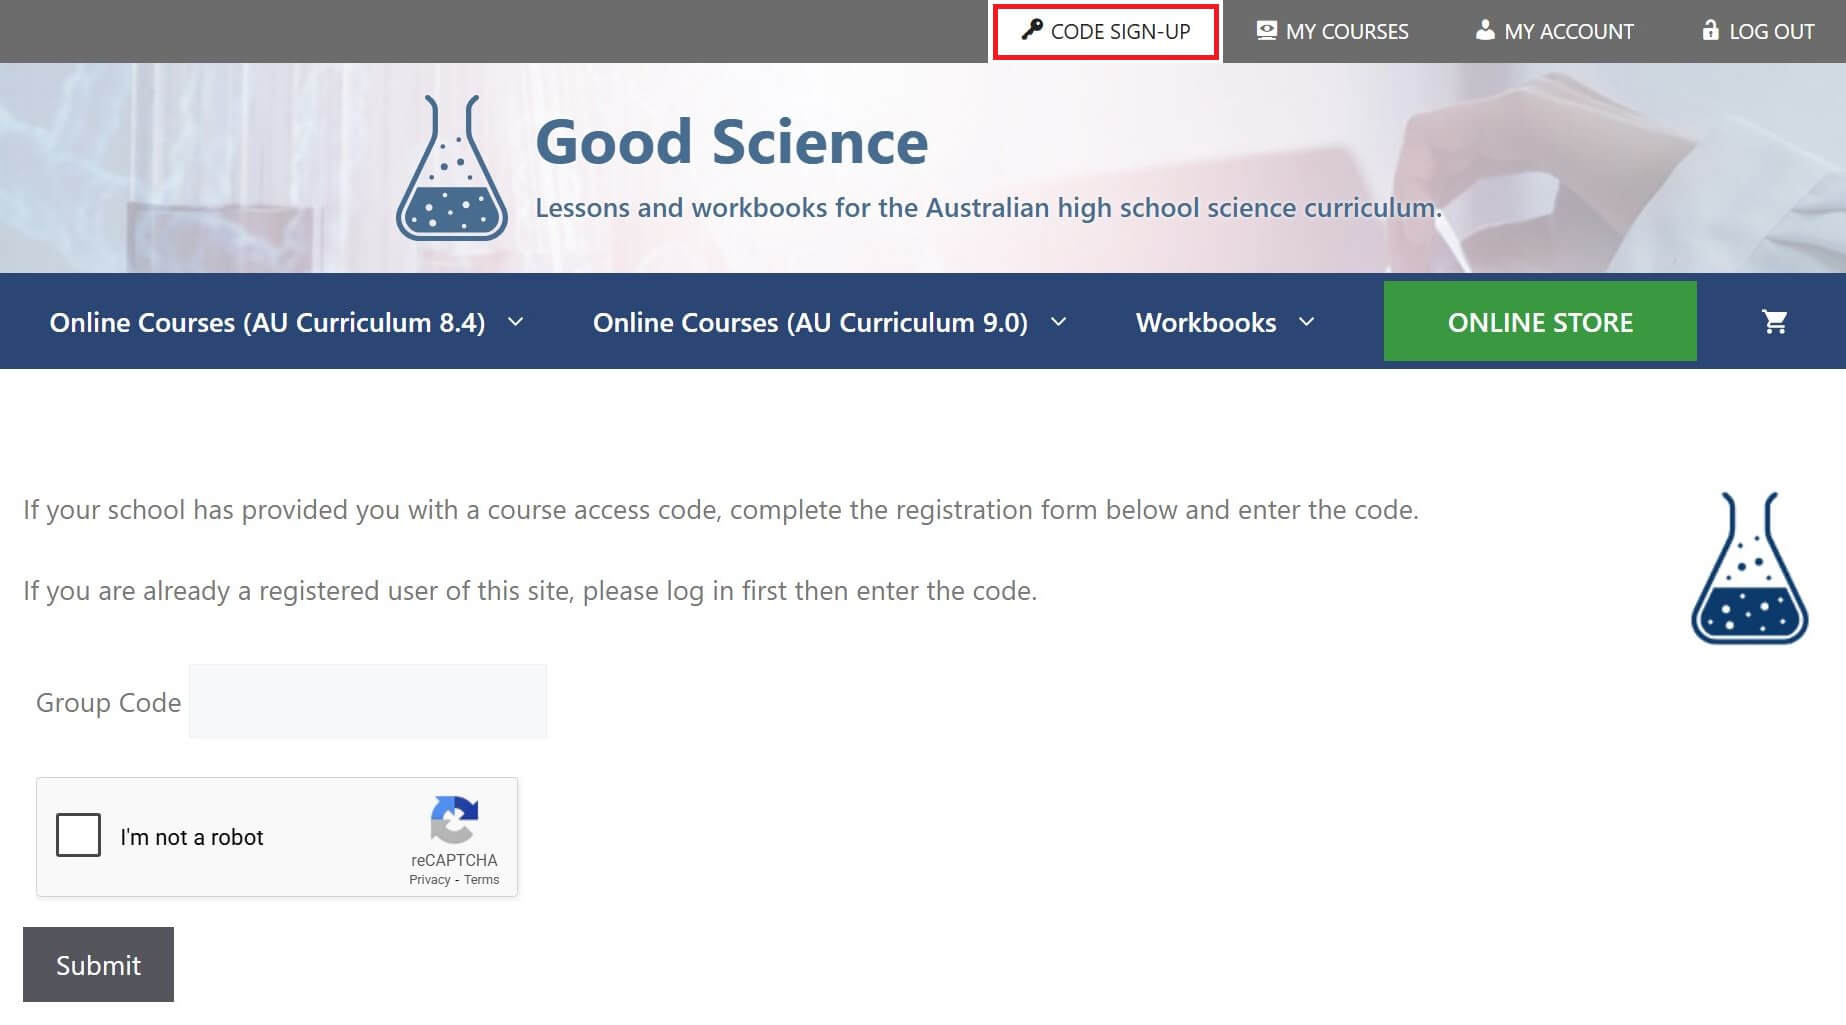
If students are not already registered with the Good Science website, they will register at the same time as enrolling in the course. Their code sign-up page will look like this:
Instructing Students How to Access Their Courses
Once student are enrolled in your class group, they can access information about how to access their courses and account details by clicking on General Info & FAQ at the bottom of any page, then clicking on User Instructions – Students.
Alternatively, they can access these instruction directly using the following link:
https://www.goodscience.com.au/user-instructions-students/